Macro photography holds a unique place in Caroline Jensen’s heart. The Sony Artisan says this form of photography is unlike others in that it is often more personal, and that’s the case for her. She says it calms and centers her, almost like a meditation. With the stress circulating through the creator community regarding COVID-19 and restraints on creativity due to social distancing procedures, now is a good time to introduce yourself to the world of macro photography. Whether it be in your backyard garden or in your kitchen, you can find a place to do macro at home. In your first session of Macro Therapy With Caroline Jensen, she will provide you with a quick start guide on choosing your camera settings for macro photography.
In the first session of Macro Therapy Caroline Jensen, the Sony Artisan shares her quick start guide on choosing your camera setting for macro photography.

Sony RX1R II. 1/500-sec., f/2, ISO 100.
Choose How You Want To Focus
- Manual Focus: This gives you complete control. You run the show. Directions to follow.
- Continuous Auto Focus set to Wide or Zone: You let the camera choose where to focus. Release the shutter as you watch the green focus boxes dance on your subject. Use Zone if you want to narrow the area to part of the frame.
- Continuous Auto Focus set to Lock on AF: Flexible Spot: Choose the size of your focus spot--small, medium, or large. Set the focus box on your subject. Reframe as your focus stays in the general area you chose. This works better on some subjects and is less accurate on others. You will have to experiment!
- Continuous Auto Focus: Flexible Spot: Choose small, medium, or large. This method works best with joystick models.

Sony α7 III. Sony 90mm Macro f/2.8 G. 1/1000-sec., f/5, ISO 160
First Steps
- Set your diopter so your viewfinder is clear for your eyes. It is located next to the EVF.
- Map manual focus assist to your preferred button. I chose C1.
- Set focus peaking to low and choose peaking color. Low focus peaking is often more accurate than high focus peaking.
- Set your focus to AF-C. This mode works better for macro than AF-S.
- Practice the two manual focus techniques. The two techniques are the 1) Shoot Through And Twist and 2) The Bobble.
Manual Focus Technique #1 – The Shoot Through And Twist
The Shoot Through And Twist consists of manually focusing your lens to the point where you think you are in the ballpark. Then twist the lens back so that the image is just out of focus and set your camera to take multiple shots in quick succession.
Once you have a barely out of focus image, shoot your camera and rapidly fire as you slowly twist the lens forward. You will shoot this way:
out of focus---in focus---out of focus again
Depending on your camera model, you may shoot between 3 and 20+ images. Focus peaking will indicate the general area in focus as you turn the ring.
Manual Focus Technique #1 – The Bobble
Frame your subject as you would like in the frame.
To do The Bobble, set your focus roughly where you want it by using focus peaking to assist. Take your hand off the focus ring. Brace the camera against your eye and gently bob forward and back as you release the shutter. Your movements should correlate to millimeters (or maybe centimeters) – tiny movements. You may either shoot many frames, similar to the Shoot Through And Twist, or you can carefully shoot when the peaking color tracks over your preferred focus spot. Feel free to lower your frames per second to low or medium. It is unnecessary to shoot at maximum burst rate. You might want to set your focus limiter to the closest setting.

Tip: Change your focus peaking color if you are shooting a subject of the same color! Sony α7 III. Sony 90mm Macro f/2.8 G. 1/200-sec., f/5, ISO 640
Perfect Exposure Every Time
Sony cameras make it incredibly easy to get perfect exposure every time. Here is how:
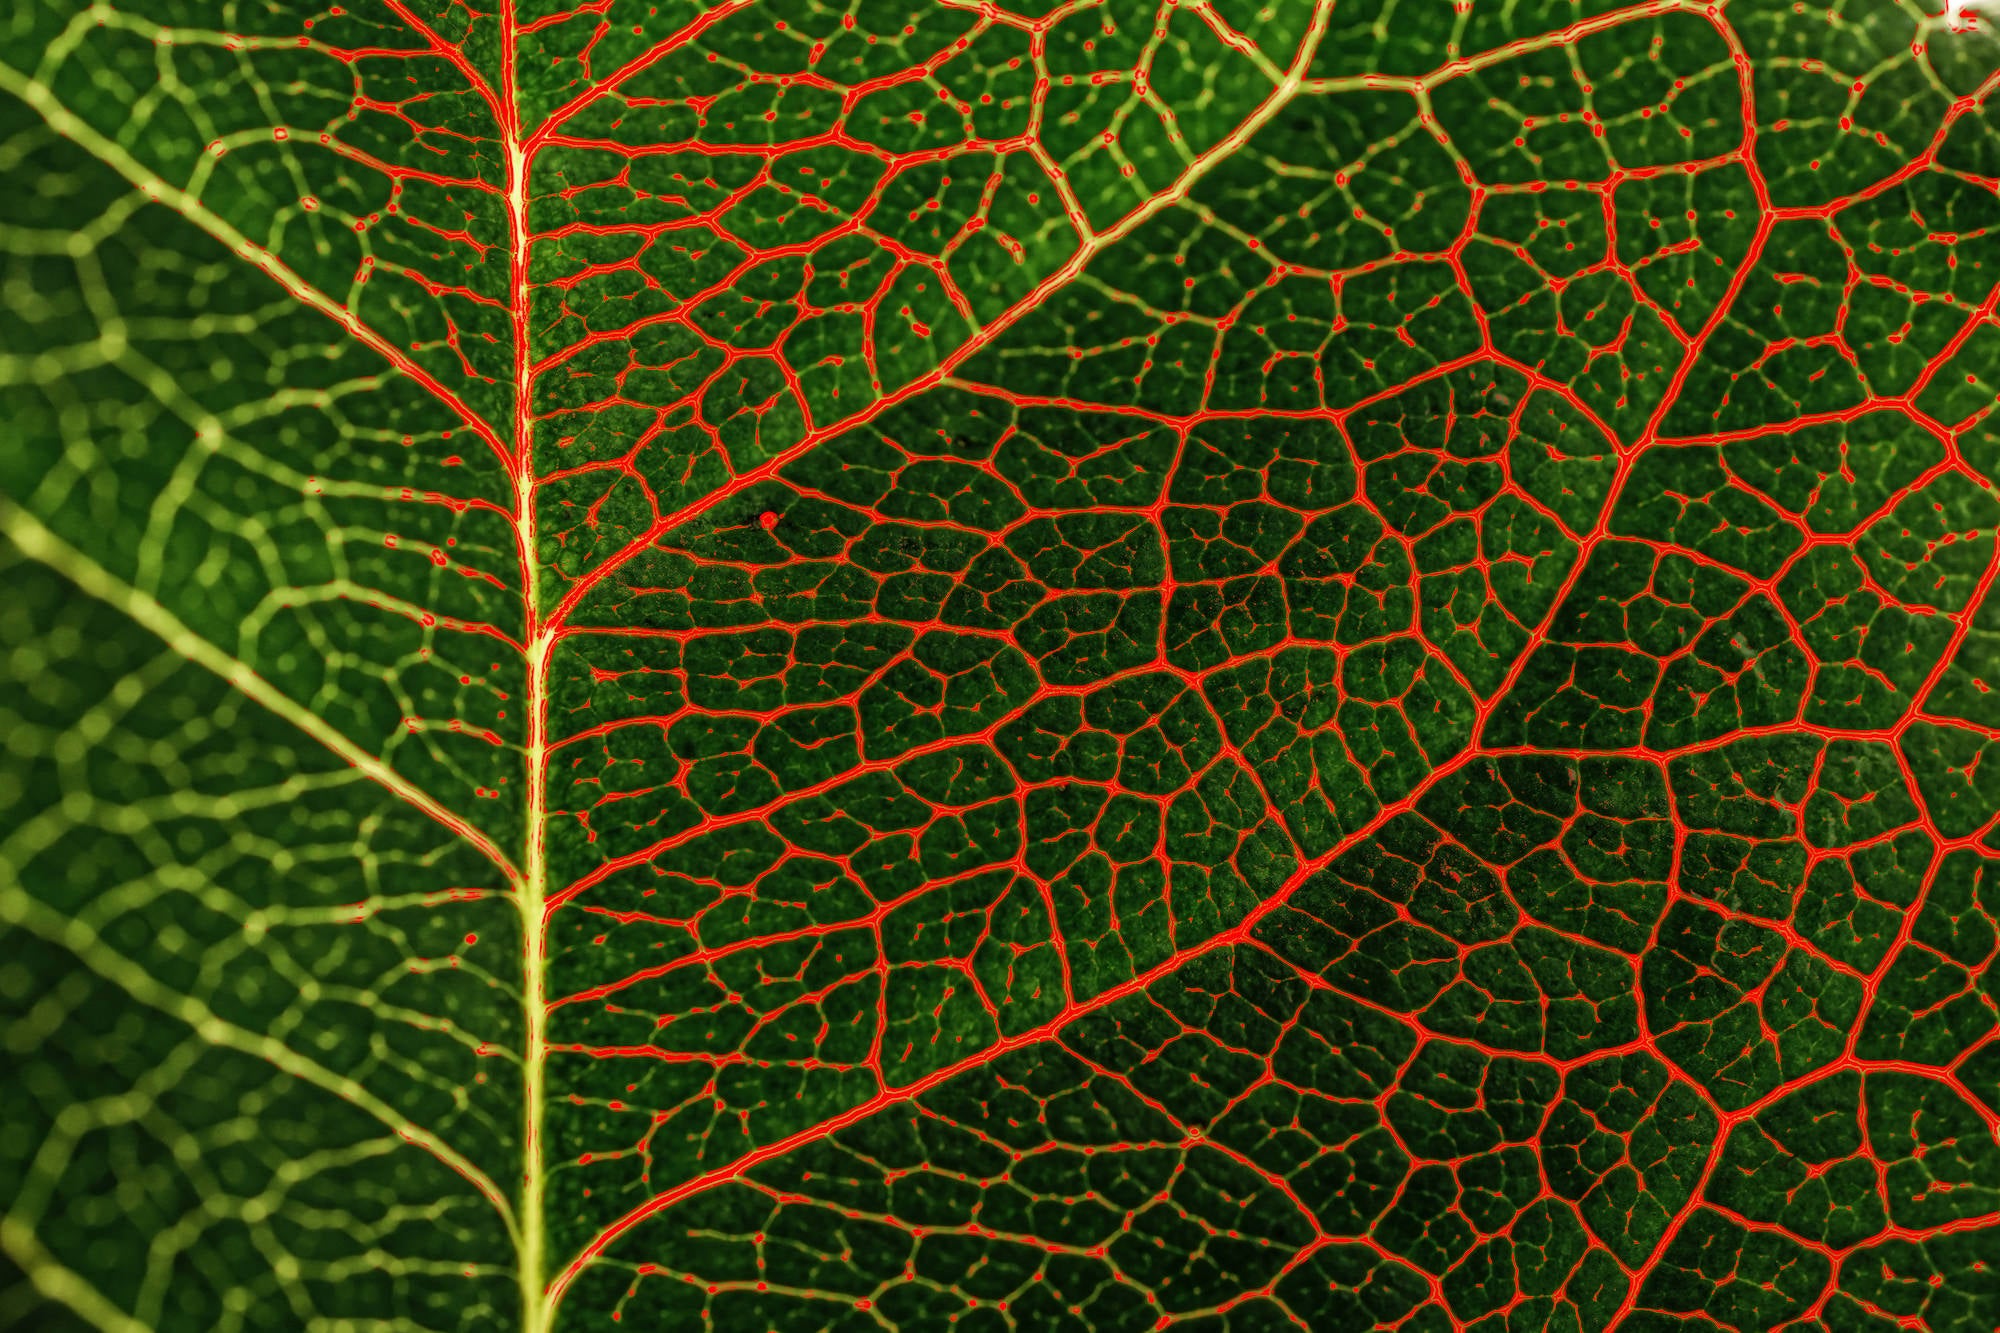
1. Set your camera to allow zebra stripes at 100+. This makes them appear on areas that have no detail, due to overexposure.
2.Tick back your exposure (either increase shutter speed, lower ISO, or increase the number of your aperture), until the zebra stripes are no longer on your main subject.
3. Shoot your image.

Sony α7 III. Sony 90mm Macro f/2.8 G. 1/1000-sec., f/2.8, ISO 250
The zebra stripes may remain on unimportant areas of your image. I tend to only leave zebra stripes present if I cannot manage the exposure any other way, save for stacking images (HDR). I am not a fan of the transition between blown areas and details--for instance, clouds in a bright sky, so I will often underexpose my subject and plan on introducing extra exposure in my post processing program. Always shoot RAW if you want to recover the most data! Front lighted images are less likely to be troublesome than backlit images.
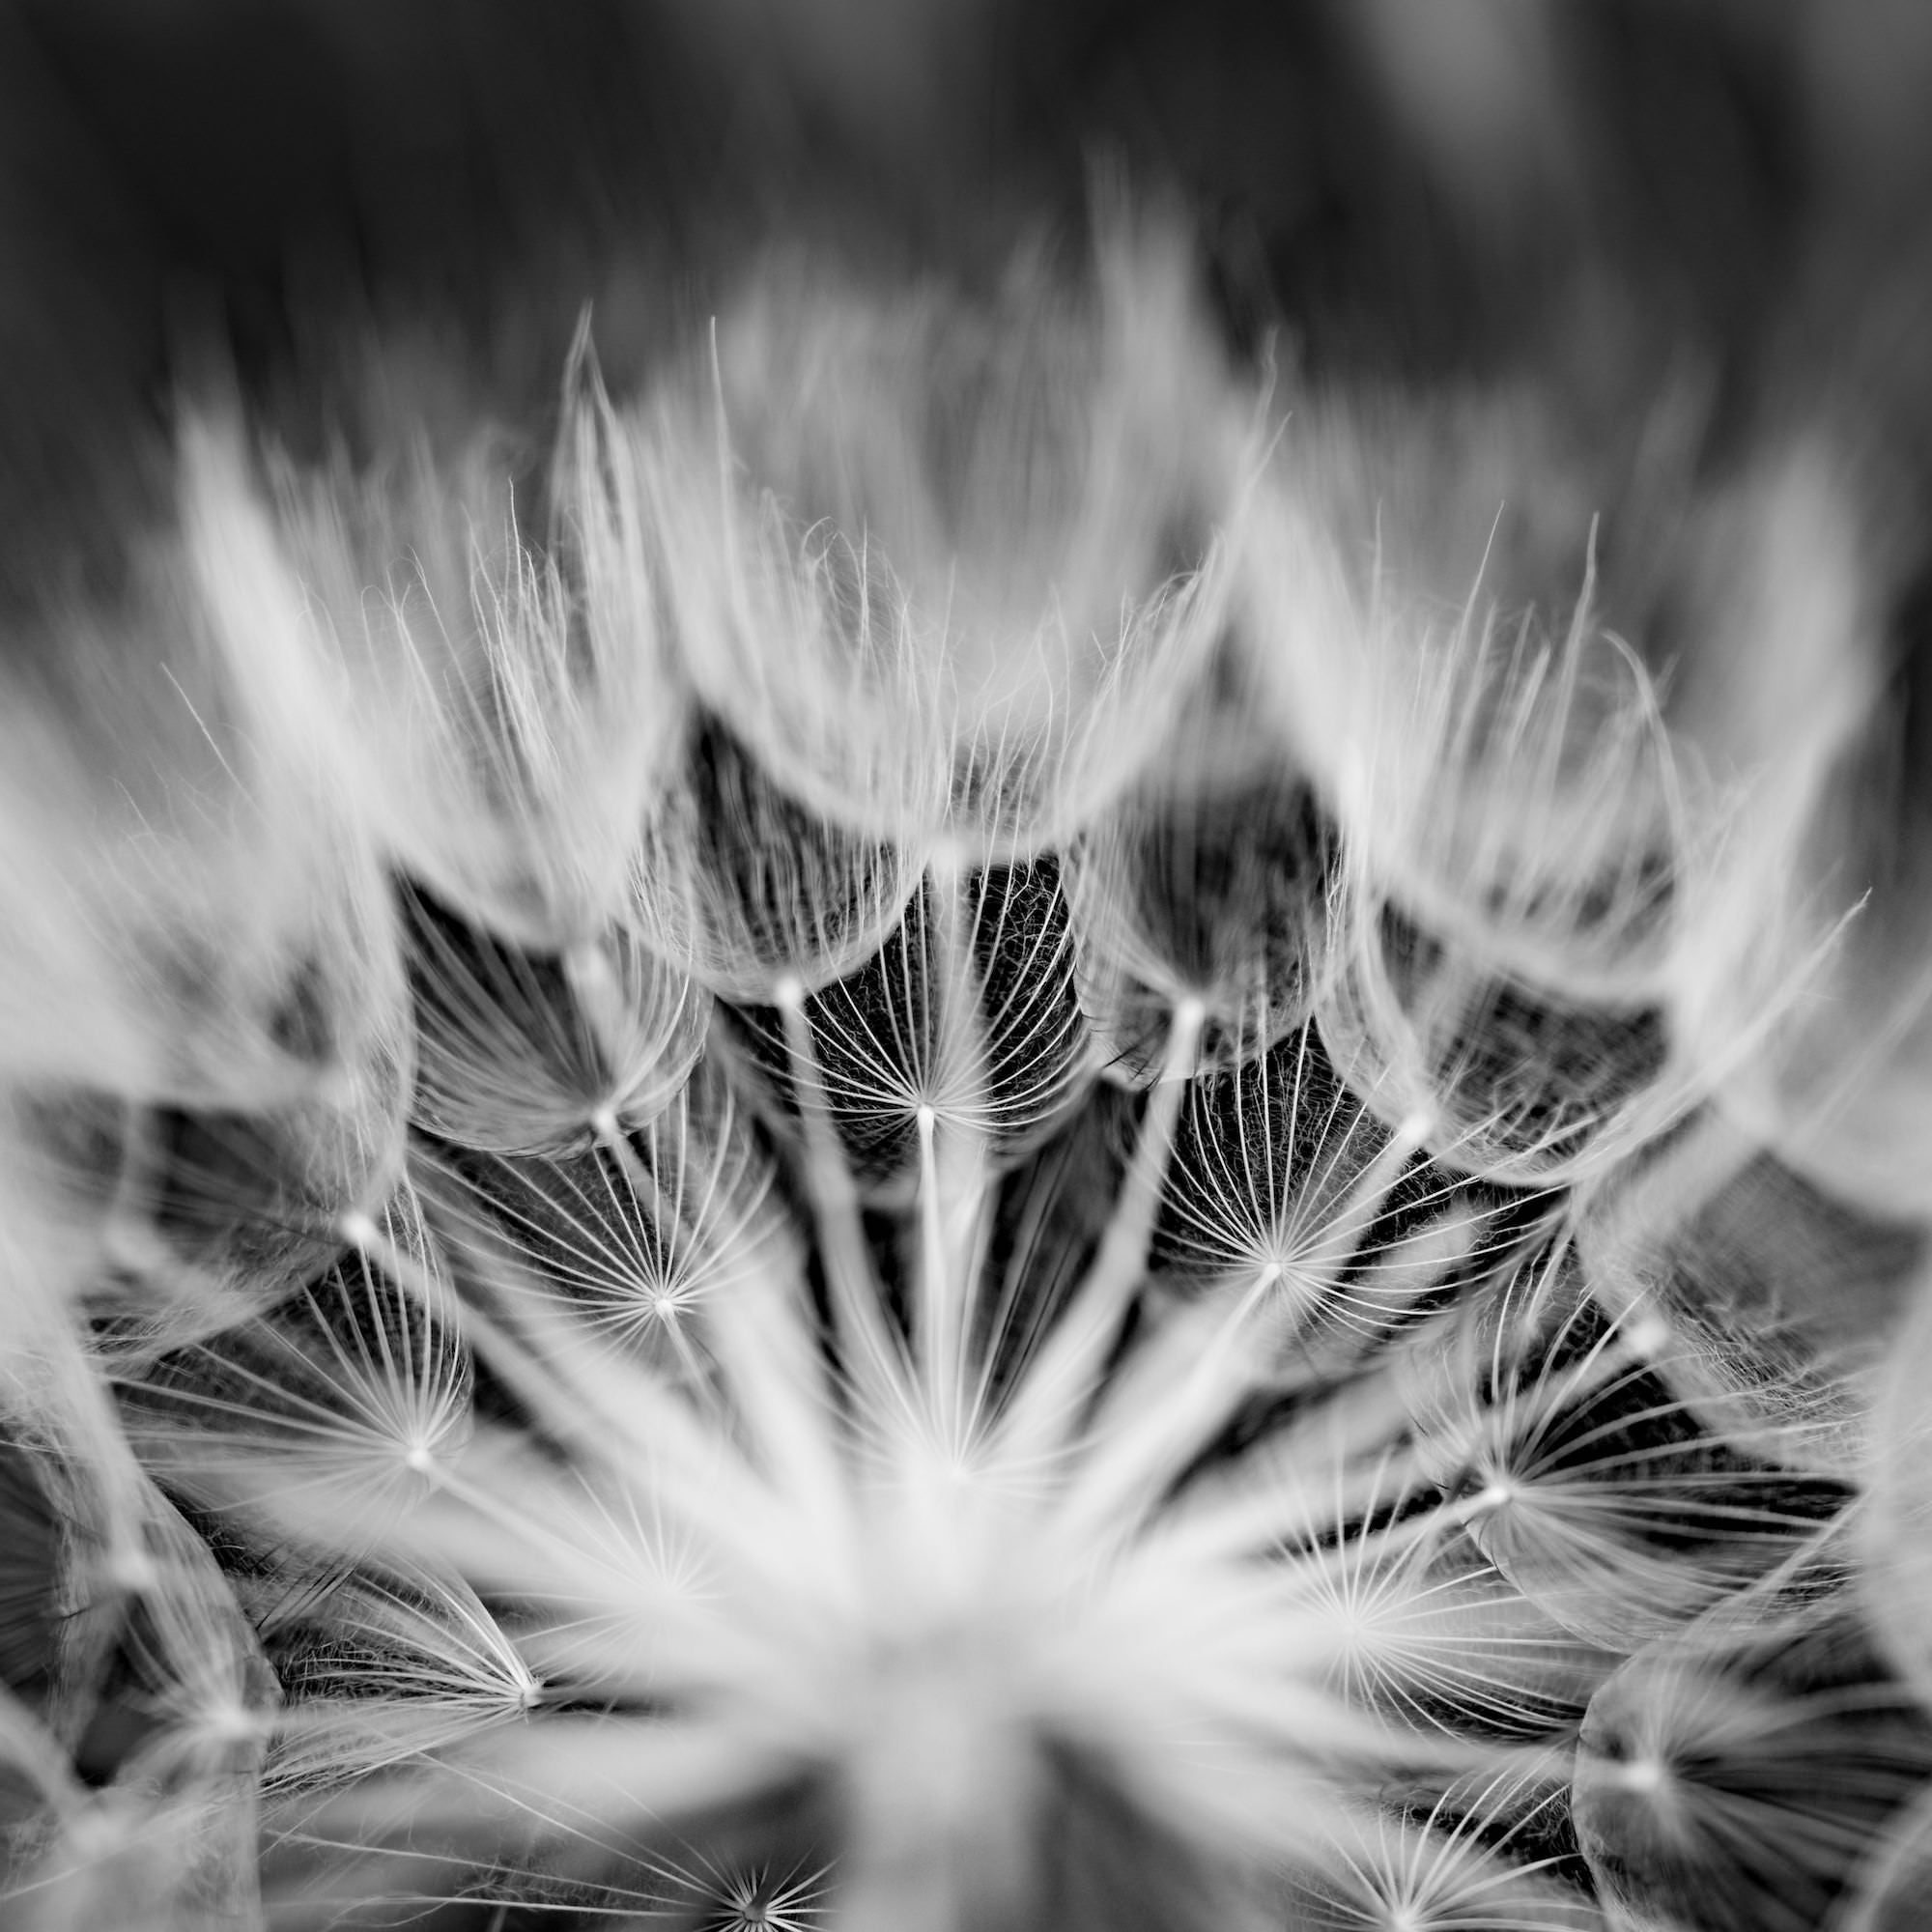
Zebra stripes helped me to avoid blowing out the whites in this High Contrast Mono image.
Focus Range With Limit Switch & Optical Steady Shot (OSS)
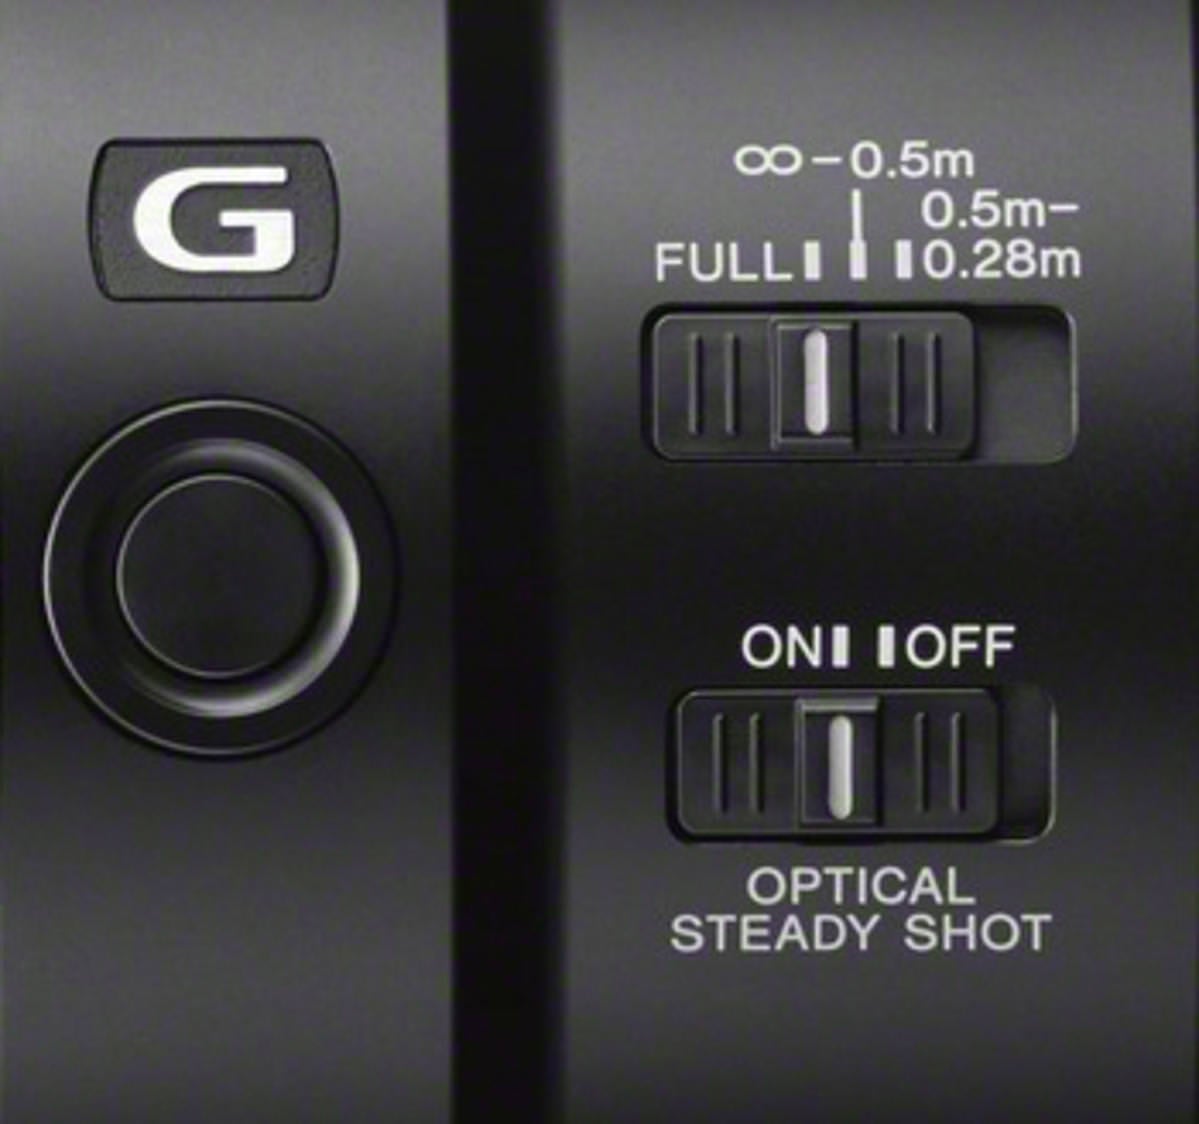
Both the Sony FE 90mm f/2.8-22 Macro G OSS and the Sony FE 50mm F2.8 lenses have focus range limiting switches. This switch lets you minimize the time a lens spends hunting for focus. Slide all the way to the left (FULL) to engage the entire focus range from minimum focus to infinity and back again. Choose the center spot for limiting the focus from mid-range to infinity (0.5m to infinity). Choose the far right option (0.5m to 0.28m) if you want to concentrate on close focus. This option is best for close macro work as it prevents the lens from jumping far past your subject, which wastes time and causes frustration. Remember, macro lenses are specialized tools and snappy focus is not their main talent. I tend to choose the middle position first and then switch to the far right position for the 1:1 shots.

Optical steady shot (bottom switch in the image above) can help you make sharper hand-held macro images. This option should be turned OFF when using a tripod.
Stay tuned to AlphaUniverse.com for your next Macro Therapy Session With Caroline Jensen.


